You probably already know that you can share single 360 images one by one, but that’s not the same as having whole virtual tour connected and making it possible to go from one spot to another with just one click of the button.
If you want to take advantage of the 3D virtual tour, the great idea is to embed it to your Facebook page, to make sure that all your followers can access it.
Please note: Due to new Facebook updates, only pages with more than 2000 likes can create custom tabs to place a virtual tour.
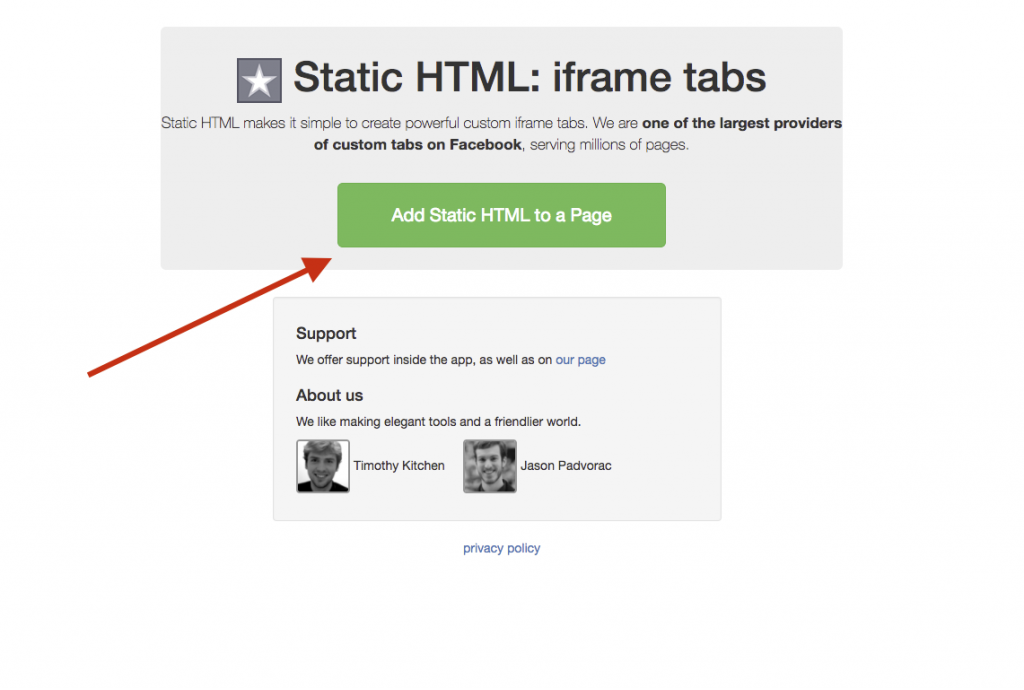
1.The first step is to add a new HTML page on Facebook
Make sure you are logged in to your Facebook account which is associated with the page that you want your virtual tour on. Then go to this link (https://apps.facebook.com/static_html_plus/) and click “Add Static HTML to a page.”

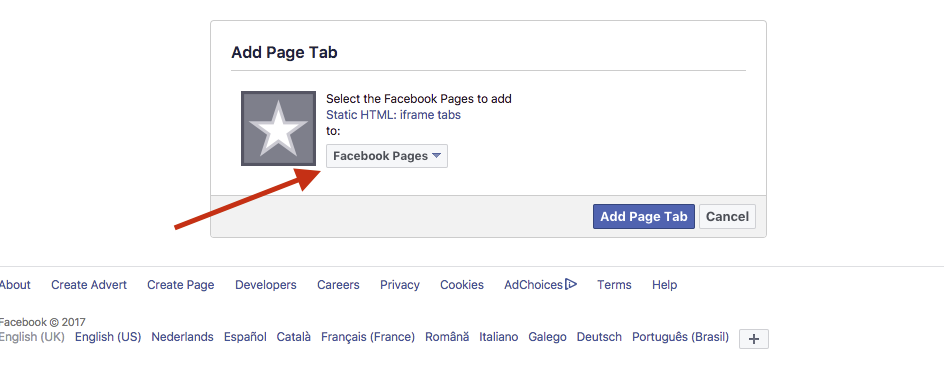
2. Choose the page
When you come to this page, select the page from the drop-down menu where you would like to add you a virtual tour.

3. Press “Set up tab”
You will be redirected to this page, where you will find a green button that says “Set up tab” click that button.

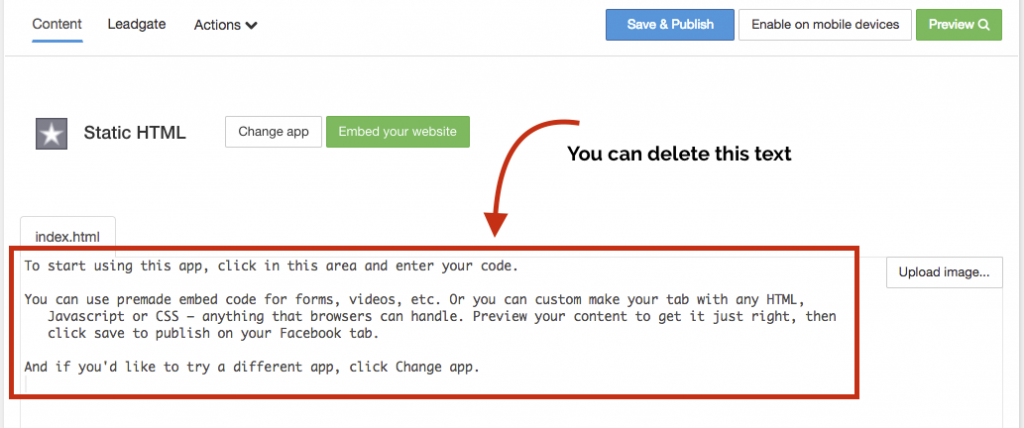
4. Insert your embedding code of the Virtual Tour
Now here is where you have to put your embed code that your virtual tour provider will send it to you. It should start with “<iframe src=”…”>”

5. Change the name of the tab
By default tab is named “Welcome”. You can click on “action” and choose to “Edit name & image.”

Don’t forget to click “Save Tab Name” once you are done. Otherwise, the name won’t show!
Now you are all set and can see your virtual on your Facebook page.


Recent Comments